1. Lesson objectives
- Review how to disassemble and assemble a desktop computer
- Learn how to recognize and understand the basic specifications of desktop computer components
2. Instruments preparation
Each student prepares the following tools:
Main tools:
- 01 Desktop computer
- 01 screwdriver
- 01 screw box
Support tools:
- 01 computer cleaning brush
- 01 cleaning cloth
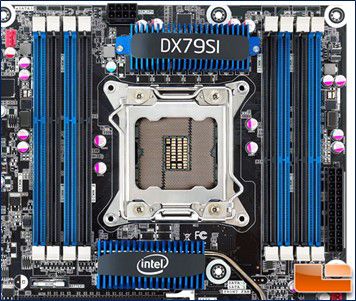
3. Components of the motherboard
3.1. Important components
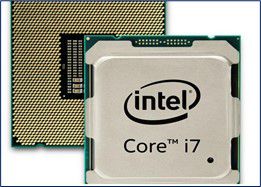
Central Processing Unit (CPU)
– The CPU is the electronic circuit that executes computer program instructions. CPU performs basic arithmetic, logic, controlling, and input/output (I/O) operations specified by the instructions in the program.
– Specifications:
- Manufacturer (Intel, AMD, etc.)
- CPU model (Intel Pentium IV, Intel Core I7-860, etc.)
- Number of CPU pins
- Types of sockets
Socket
– The socket helps contact between the CPU and the mainboard. It allows for the easy replacement of CPUs. Various types of sockets are compatible with different CPUs.
– Specifications:
- Socket model
- Socket color
Northbridge Chipset
– The Northbridge Chipset, also known as the Memory Controller Hub, handles communication between the CPU, RAM, AGP or PCI Express, and the Southbridge.
– Specifications:
- Manufacturer
- Northbridge chipset model

Southbridge Chipset
– Southbridge Chipset is also called I/O Controller Hub. It is responsible for communicating with peripheral devices.
– Specifications:
- Manufacturer
- Southbridge chipset model

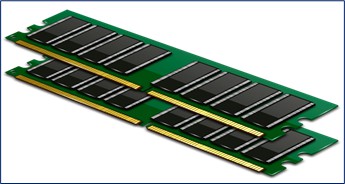
RAM (Random Access Memory)
– RAM is a temporary storage area for data. Any data stored in RAM will be lost when the power is turned off.
– Specifications:
- Types of RAM (DDR1, DDR2, etc.)
- RAM capacity (256 MB, 512 MB, etc.)
- Number of RAM pins
- Voltage of RAM
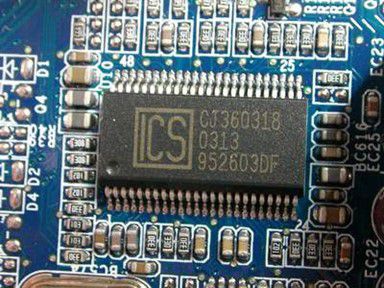
IC (Integrated circuit)
– There are many different types of IC on the Desktop motherboard such as super Input/Output Controller (SIO), power IC oscillator, etc.
– Specifications:
- Model IC
- Number of IC pins
- Position of pin 1st of IC
3.2. Some other components
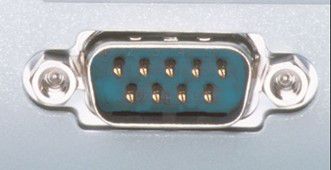
Serial port
– The serial port is a port commonly found in older computers that are used to connect peripheral devices such as keyboards, mouse, modems, scanners, etc. It also goes by other names, like COM port.
– Specifications:
- Color
- Number of port pins
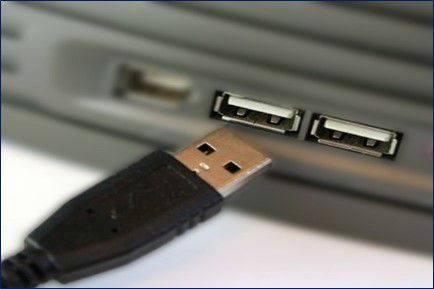
USB port
– USB (Universal Serial Bus) is a standard serial connection used in computers. It enables up to 127 devices to be connected to the same computer through a single USB port.
– Specifications:
- Number of USB ports
- Types of USB port
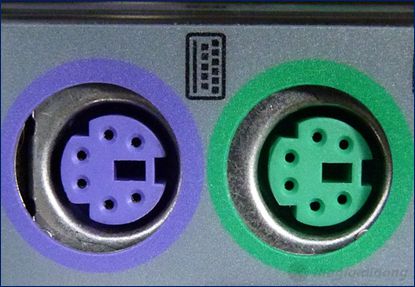
PS/2 port
– The PS/2 port is used to connect the keyboard, mouse, and other devices to the desktop motherboard.
– Specifications:
- Number of pins
- Color
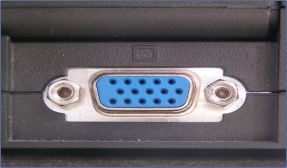
VGA (Video Graphics Array) port
– VGA (Video Graphics Array) is a display standard that supports connections from computers to projection devices via cable.
– Specifications:
- Number of pins
- Color
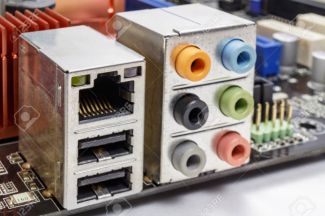
LAN port
– The LAN port transmits network signals for machines and can use a standard RJ45 connection.
– Specifications:
- Number of LAN ports
- Number of pins
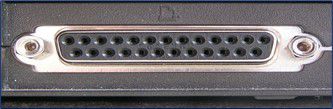
Parallel port
– The parallel port is a port that is often used to connect printers to older computers.
– Specifications:
- Color
- Number of pins
4. Requirement of practice
- Every student will receive practical tools.
- Disassemble and assemble the Desktop computer step by step and follow the regulations.
- Identify components of the motherboard.
- Observe and record the specifications of the components of the motherboard.
- Complete the practice sheet for lesson 04.
- You are required to take pictures and record videos for documentation.
5. Practice sheet
Each student downloads the practice sheet here, photo it and bring it with you when you practice.